Finally, the tutorial! It really probably wasn't worth the wait. I apparently stink at doing tutorial photos, and the instructions are written for someone with a brain like my own, so it is quite possible that some won't make sense for you. If not, please don't hesitate to comment! I would be happy to answer your questions. And I'll try to do it within 24hrs, too. :)

This is for a 1:9 scale slice of pizza. It will work in 1:12 scale too. :) It can be adjusted for other scales, but you will have to trial and error to find the right sizes.
Note: If you are not super comfortable eyeballing scale as you go, you may benefit from setting a Breyer horse or doll in your scale of choice next to you. You can check your scale as you go. I work in scale all the time, so I don't use a model for props anymore.
Supplies:
- A mind willing to trust the process, even if it sounds crazy
- A creative, determined spirit
- Light Tan Polymer Clay
- Yellow Polymer Clay
- Orange Polymer Clay
- Red Polymer Clay
- Brown Polymer Clay
- Green Polymer Clay
- White Polymer Clay
- X-Acto Knife (or similar)
- Dotting tool (or similar, if you don't own one)
- Toothbrush or old painting brush
- Non-stick Parchment Paper
- Corn Starch
- Oven
Optional Supplies:
- Reddish Brown Pastel
- Orange Pastel
- Soft Brush to use with Pastels
- Glass Bottle (for rolling)
- Cupcake Liner (for containing corn starch)
- Freezer
I used Sculpey III (it's pretty sticky, I don't adore it but it needs used up) in this set. I got it on sale at Joann's for $10. My X-acto knife is X-acto brand, but the craft knife from the dollar store is great too. I have a full set of professional dotting tools, but for this tutorial I used an old double ended one from the craft isle in the dollar store. The toothbrush is a Crayola brand I got from Walmart for this purpose. The parchment and corn starch is Walmart brand (Great Value). My pastels are some really old, cheap Artist Loft stick pastels. The glass bottle is recycled from some ginger soda (I think).
Note: I was working outside, in 90 degree weather. I do NOT recommend this. It will make your clay extremely soft, and it will make you want to call it not nice names. This is especially pronounced when you are already using Sculpey III, which has all the firmness of apple butter.
Let's get started!


First thing you want to do is layout a small sized piece of non stick parchment. Don't bother trying to tape it down, it's called "non-stick" for a reason. Just weight the corners with some of your supplies if it bothers you.


I like to sit a little cupcake liner with some cornstarch in it within easy reach. In this case, I'm using it as a paperweight. You want to be sure it is easy to get at as you will be coating your fingers with it frequently. My other paperweight is a glass bottle, which I use for rolling out the clay.


I set the tray of my clay blocks and my box of left-over bits to the left of me (I am right-handed, so it keeps it out of the way of my working arm).


You can set your tools wherever you want them. Mine float around frequently, but I start them on the left side of my parchment (mainly so I don't stab myself in the arm with the X-Acto!). After you do that, you will want to give your hands (yes both of them) a light dusting with the cornstarch. Don't go hog-wild, but be thorough. You don't want to get the clay stuck to you, but you also don't want to have so much that you prevent the clay from sticking to itself. Focus on getting your fingers more than your palms.
 |
| (I ended up using less than shown in the picture) |
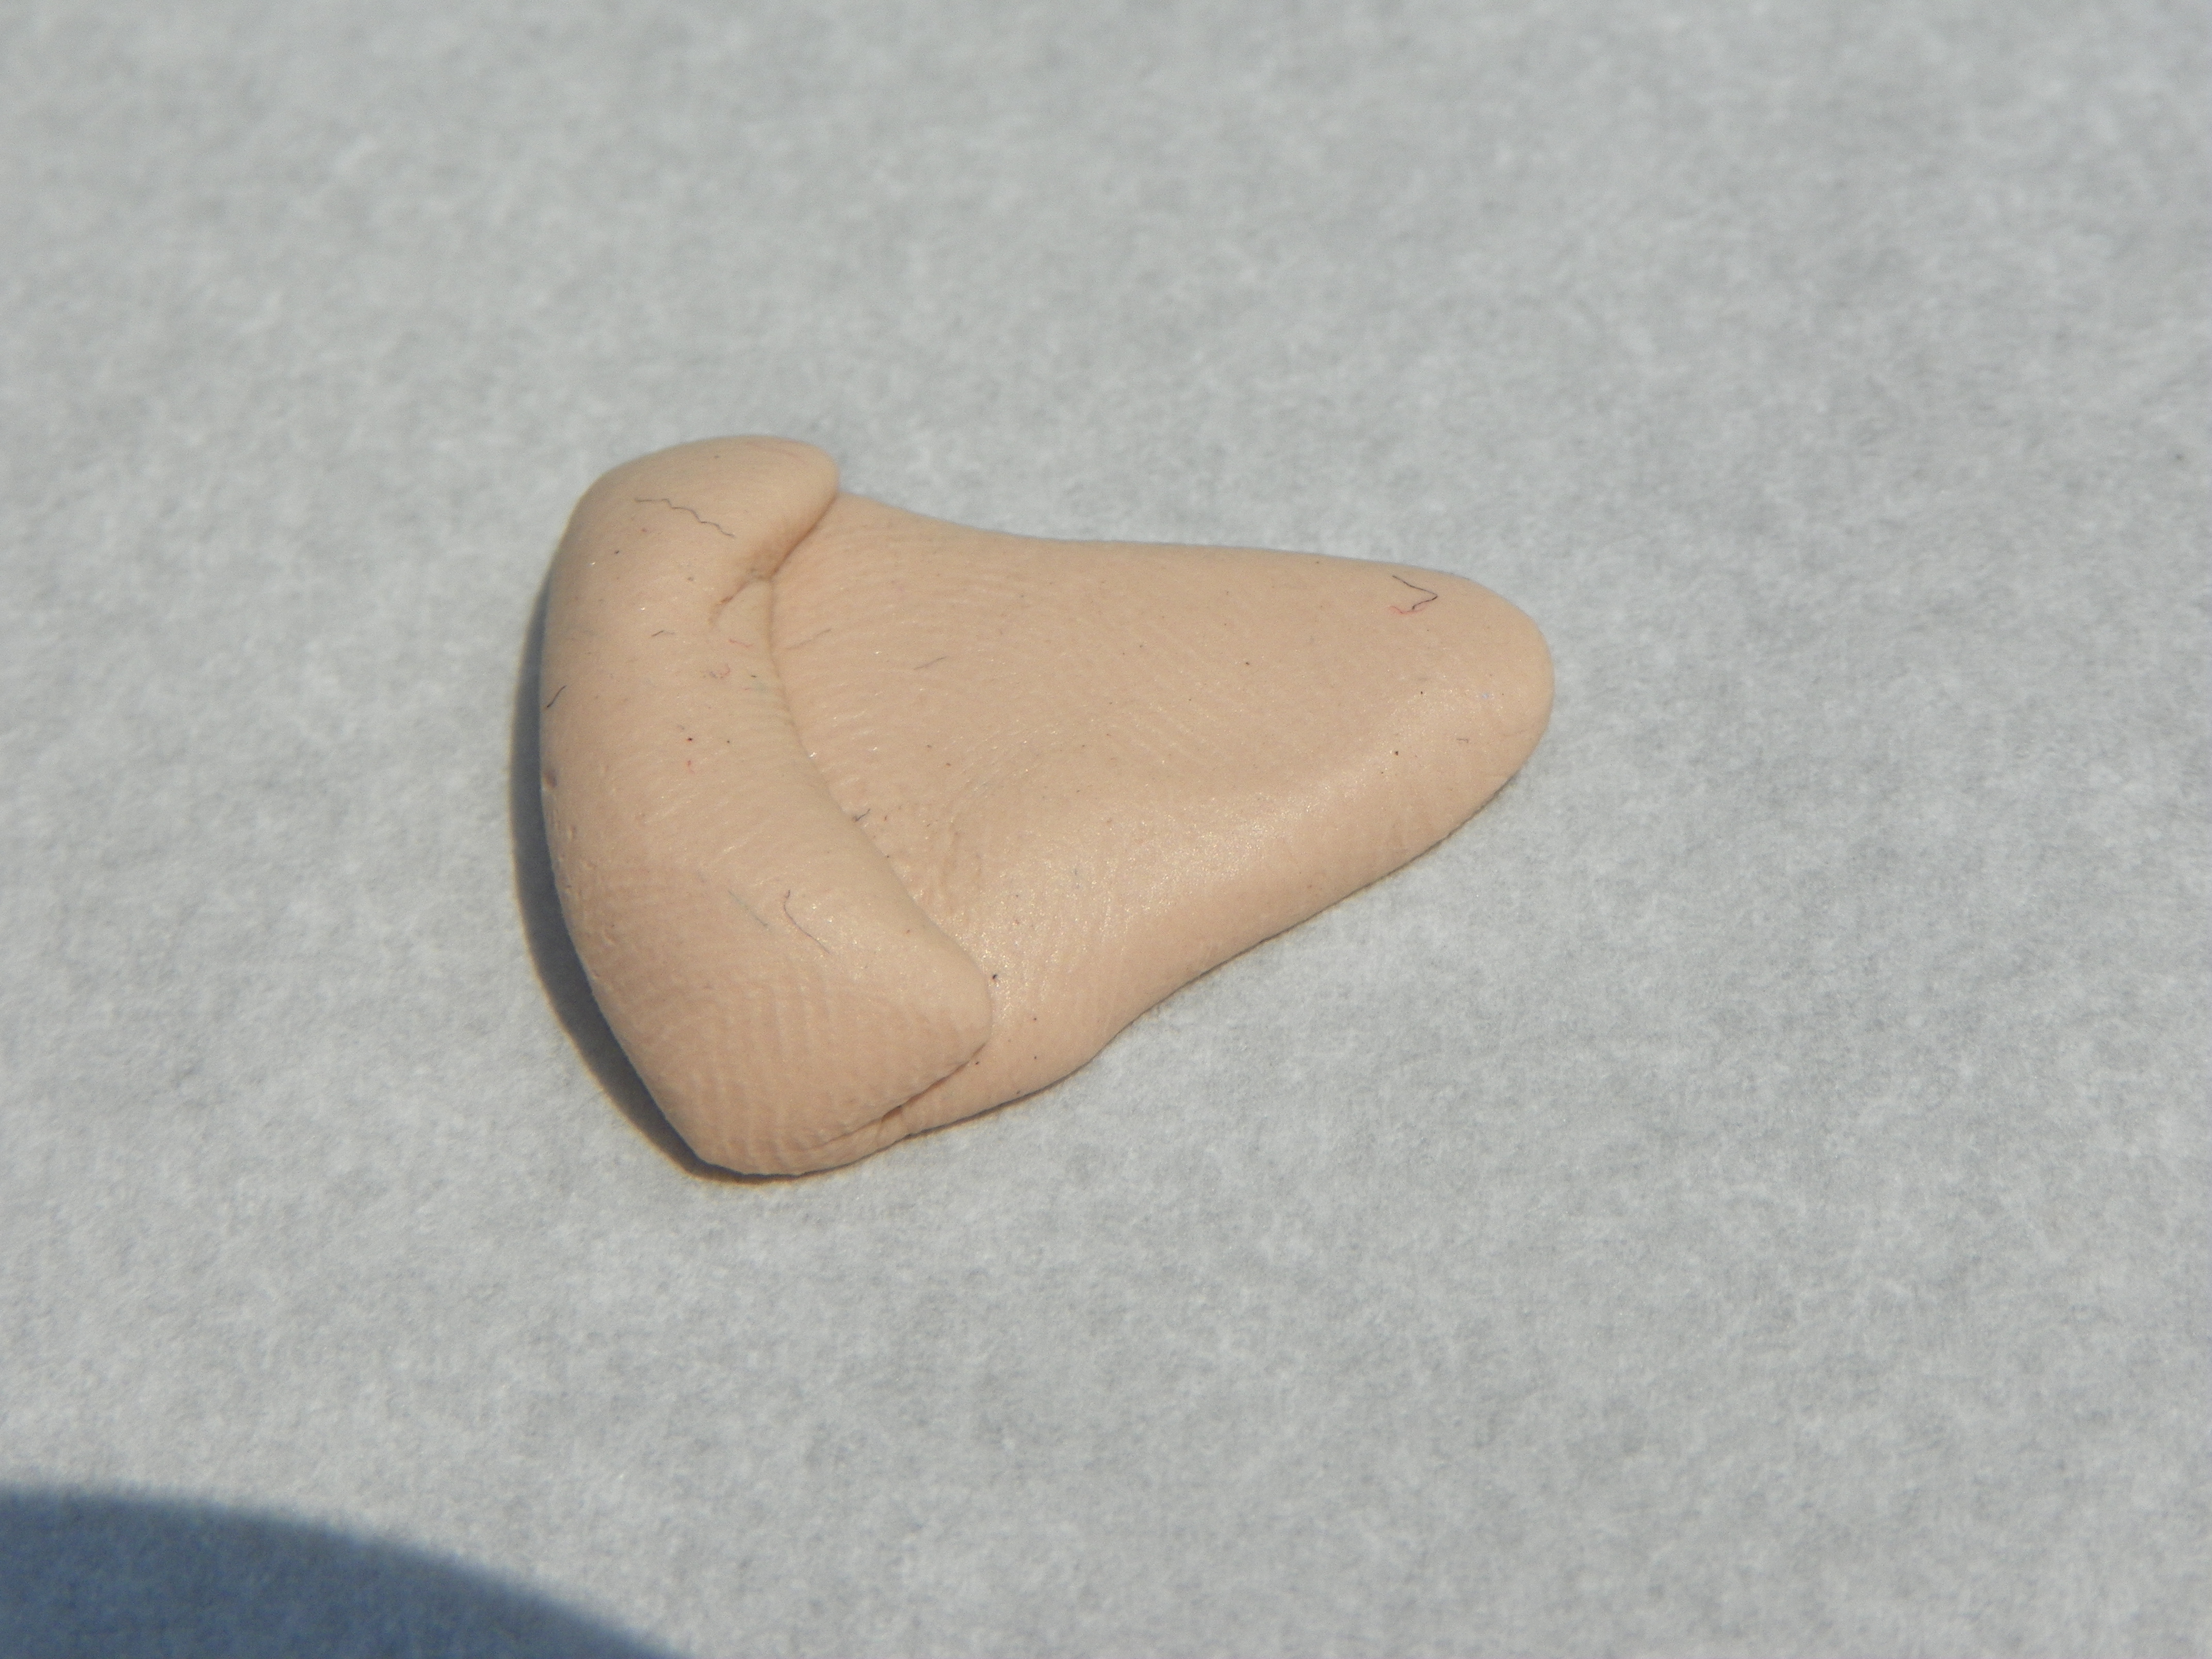
Once you have set everything out and have dusted your fingers, you can grab the first piece of clay. This is the tan or light brown clay. Roll it into a ball to condition it slightly. Depending on how soft/firm your clay is, you may need to roll it more to get it ready for working.


Squish it out to form a somewhat thin, roughly triangular shape. Do not worry about the top, flat side, it can be as squashed out and misshapen as you please. Just focus on the two long ends. Using the drawing above, just focus on the blue sides and leave the red one sort of squashed out and lumpy.
After you have the rough triangular shape, use your nicely starched fingers to sort of roll the red side into a "crust". You may need to squish it more to get a nice roll. Smooth the roll with your fingers when you're done.


If your fingers aren't cutting it, you can run the larger end of your dotting tool up and down the edge to smooth it. All but the crust will be covered by tomato sauce and cheese in a minute, so don't be worried with appearances! After you smooth the crust, go ahead and lightly texture the whole surface of the "dough" (not the crust) with the dotter. This will help the tomato sauce adhere better.
Interrupting the tutorial to ask you to stop here for a minute. Please look at the weird little thing you have made, and say, "I will stick with this and trust the process". Repeat that as many times as you need to to convince yourself not to ball it up and start again. It really does not matter what it looks like right now. It will be covered up and re-shaped at the end. Oh, and while I have you on pause, please re-coat your fingers in corn starch. Ready? Let's proceed.


You have finished the crust and dough and are ready to move on to the tomato sauce! Yay! For the tomato sauce, get a small ball of red clay. My clay has a slight blemish of white, but that's okay because it will be covered up under the cheese. Roll the red ball flat using the glass bottle if you have one. If you do not have a glass bottle you can use something else round and smooth, like an old pencil or the handle of your knife. Just watch you don't hurt yourself! I have a few scars from this polymer clay hobby.
 |
| My red could even stand to be a little bigger. |
Once it is nicely rolled out, you can drape it across your pizza. You want it to drape down over the sides like a king size comforter on a twin bed. Let it pool. We will be cutting the sides down at the very end, and we want to have plenty enough of everything.
 |
| From left to right: Yellow/Orange/White, Yellow/Orange, and Yellow/White |
Cheese time!! This is the time to be creative. Pull out some small balls of yellow, orange, and white (more yellow than the others). Divide the yellow into at least three chunks and start to mix some custom cheese colors. I like to have one 50% Yellow 50% White, one 33% Orange 66% Yellow, and one 33% Yellow, 33% White, and 33% Orange. However, in the end, this is your cheese, so make it how you like it!


Once you have the cheese mixed, use your fingers to squish it flat. You want it about the thickness of the tomato sauce. At that point, begin tearing off random little pieces and laying it helter skelter on the surface of the tomato sauce. Don't be afraid to just chunk it on there. Keep layering until you can't see very much tomato sauce on the top at all.

Re-starch your fingers and start poking the cheese and smoothing it with your dotter tool. I prefer to use the larger end for this, but either will work. You can also use your fingers a bit.


Pepperoni next. Get a small-ish ball of red clay and roll it into a "snake". You want it about as thick as the lead in a standard colored pencil.

Cut this snake into small pieces, about as long as shown in the above picture. Cut more than you need.

Roll the little pieces into tiny balls and squish them flat (you may wish to starch your parchment paper first).

Use the dotter to lift the squashed circles and place them on the pizza how you desire. You may want to cut some in half so you can put them on the edge of the crust and sides.

It looks pretty terrible at this point, doesn't it? Trust me, it gets better. :)


Alright, now grab your green clay and roll a snake about half as thick as the one you rolled in red. Use your knife to cut of small chunks like you did for the pepperoni, but DO NOT ROLL THEM INTO BALLS.
 |
| (Not my photo, just giving you the idea of what chives look like) |
Using the small end of your dotter, scrape the little pieces in half, making them irregular, like chives that have been baked and shriveled in the oven's heat.


Now roll your brown into a snake and cut them like you did for the chives. This time DO roll them into balls. This is the sausage. Set the little balls wherever you like on the pizza and lightly texture them with the small end of the dotter.
 |
| My box is an utter disaster. These are the junk sticks for clay. Yes, I think that is an old Paris keychain in the bottom left. No, I don't have a clue why it's there. |
The next steps are optional, depending on whether or not you have the pastels. I highly recommend investing in some type of pastels (just not oil) if you are serious at all about mini making. They make all the difference in realism.

Start by dusting an old paintbrush over the reddish brown pastel stick. Brush it along the crust of the pizza, but not too heavily. Just to where you like it. Then brush along the orange pastel stick, and lightly tickle the crust with that too. If you need to give your cheese some extra color, you can dust it with orange too.

This should be where you're at (roughly). What a difference since that floppy old crust! This is where we pick back up with the NOT OPTIONAL instructions.


One more step before cutting, and that's texture! Grab your old toothbrush or stiff paintbrush and poke it all over, focusing on the crust.

Cutting!! The final step of creation! Make one straight cut with your knife that cuts off all of the scrap hanging over the edges.

Do the other side too (of course). I forgot to texture my sides, but now would be the time to do that (can't believe I forgot!). Just do your toothbrush poke thing up and down the cut edges.

NOTE FOR IF YOU ARE USING SCULPEY III OR ANY OTHER PARTICULARLY STICKY/SOFT CLAY: I like to pop my creation into the freezer for 5-10 minutes before transferring to a baking tray. It will help protect your pizza from losing it's shape. You can double up and put it in the freezer while your oven is pre-heating.

Time to bake! Go ahead and bake your creation according to your clay's package instruction. If you can't find instructions, look them up online on the brand's website.
Ding! Pull your slice from the oven and give it around 10min to cool down. You are now all done! Enjoy your pizza. 🍕


No comments:
Post a Comment
I always love to read comments. Thank you for leaving your thoughts!